Introduction
There are many leaves in nature, and some are more undeniable than others. While that may be what is happening, not very many leaves can maintain to be featured on a country’s standard, yet that is a separation that the maple leaf holds! Appearing on the standard for Canada, this leaf has become very notable, and its stand-out shape can similarly make it charming to sort out some way to draw a maple leaf. Learn this tutorial and visit the latest drawing tutorial Cute Corgi Drawing.
It might be trickier than expected, in any case, yet with the right helper it will in general be made significantly more direct. This little by little aide on the most capable strategy to draw a maple leaf will help you with mimicking this popular leaf easily.
Stage 1 – maple leaf Drawing
Exactly when you see the leaf on the Canadian standard, it is actually a dealt with version of how the veritable leaf looks. Really, it has more zeros in and nuances on it, and we will focus in on this enormous number of nuances in this assistant. In any case, we will focus in on the groundwork of the leaf’s outline. You can use a couple of smooth lines to make the petite stem plunging from the underpinning of the leaf to start.
Then, we will use a couple of to some degree twisted and sharp lines loosening up from the stem to the left and right, and this will begin the sharp design of the leaf. At the point when you make them look as it did in our reference picture, you’re ready to forge ahead toward stage 2!
Stage 2 – Next, draw the sides of the leaf
Since you have the groundwork of the leaf drawn, we can chip away along the edges of it in this resulting step. The lines we will use for the sides will look essentially equivalent to the ones that you used for the underpinning of the leaf. The openings between the centers will be to some degree longer nonetheless, and these sides will go straight up vertical, not the slightest bit like the base which was at generally a point. We will continue to draw in the outline the going with progresses, so we ought to proceed!
Stage 3 – By and by, continue to draw the plan of the leaf
In this third step of our helper on the most capable strategy to draw a maple leaf, we will focus in on continuing with the plan of the leaf that you’ve been managing as yet. Happening from the most recent pertinent focal point, you can continue to draw a more prominent measure of these twisted and sharp lines inside on the leaf.
Whenever you have finished this step, we can complete the system of the leaf in the accompanying stage before we base on a couple of last nuances.
Stage 4 – Next, finish the design of the maple leaf
The maple leaf is famous for its indisputable shape, and we will finish that shape for this step of your maple leaf drawing. For this we will fill in the opening left in the structure by growing a couple of lines straight up from where the beyond ones wrapped up.
Once more then, you can include a part of those twisted and sharp lines for the tip of the leaf on top. With that, you have finished the plan of the leaf! As of now all that remains is to finish the last nuances and assortment it in, so we will progress forward toward that as of now.
Stage 5 – As of now, finish your maple leaf drawing
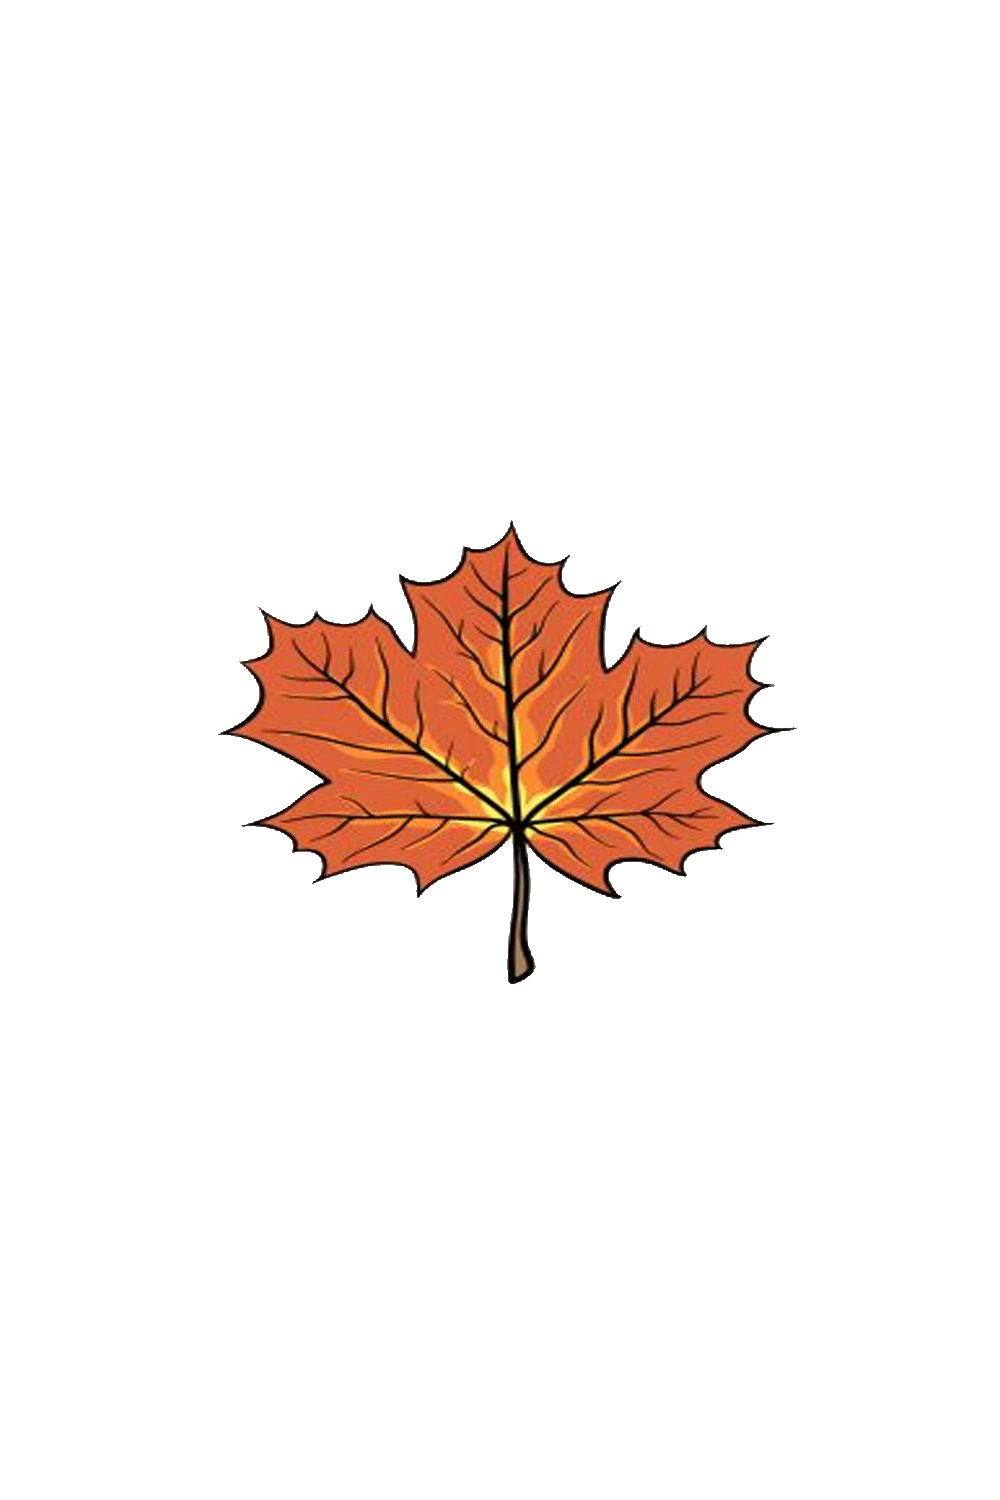
Perhaps the best difference between the maple leaf on the Canadian flag and a real one is that there is a lot of detail on a certified leaf. We will focus in on adding those nuances in this step of our helper on the most capable technique to draw a maple leaf.
This leaf is very veiny, and these are what we will focus in on in this fifth step. You can start by characterizing a couple of thick limits connecting into each tip of the leaf. Then, every single one of these thick lines will have a couple of additional unassuming, feeble lines tumbling off of them in varying lengths to have that veiny effect.
You can in like manner change these lines as you wish to make your own personal assortment. Then, you will have finished all of the nuances in this helper! Anyway, you don’t have to finish here. You can moreover add your own nuances and establishment parts to put your own contort on this image. These could recollect drawing a couple of openings or various nuances for the leaf, or you could in like manner coordinate it into a flag plan for a Canadian twist! How should you finish this leaf before the last step?
Stage 6 – Finish your maple leaf drawing with some tone
This is the last piece of your maple leaf drawing, and for this one you get to live it up conveying an amazing tones to your picture. In our reference picture, we went for specific reds and oranges for that praiseworthy maple leaf look. Regardless, this is just a single way that you could go about it. You could change up the assortments to incorporate a couple of green or various shades of red for several thoughts.
Perhaps you could go for a natural shaded assortment intend to cause it to appear to be a Fall leaf. You could pound up some certified Fall leaves and glue them onto your picture for a completed effect.
Also Read emsersaid